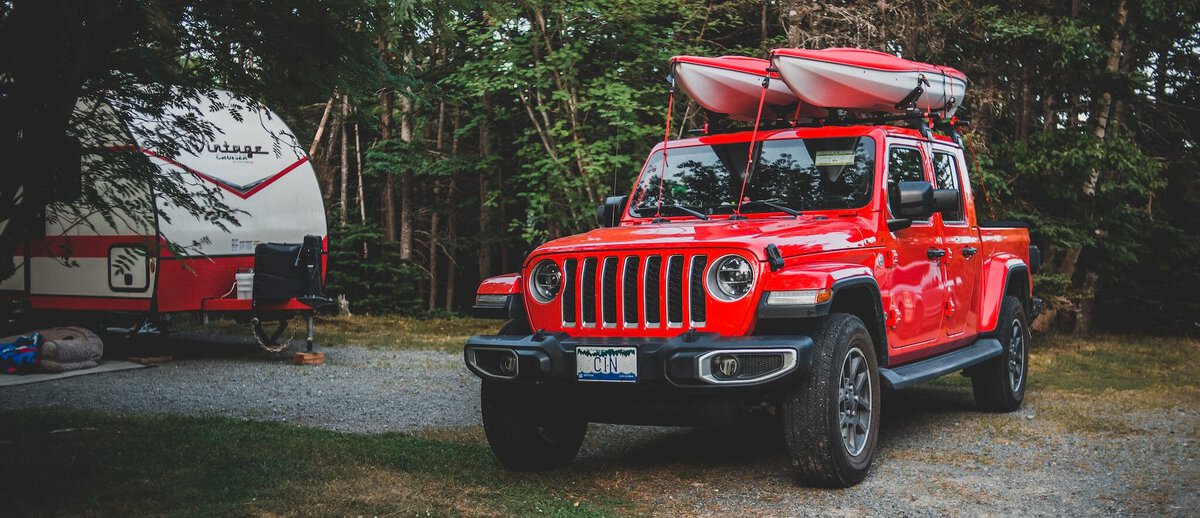
If you’re an avid kayak enthusiast or a fishing fan, you know that transporting your kayak safely is of utmost importance. Whether heading to serene lakes or thrilling rapids, having the proper knowledge and equipment to load your kayak onto a roof rack is essential. In this comprehensive guide, we’ll walk you through the step-by-step process of how to safely load your kayak onto a roof rack, ensuring that your beloved vessel reaches its destination unharmed.
Choosing the Right Roof Rack
Before we dive into the nitty-gritty of loading your kayak, it’s crucial to have a suitable roof rack system in place. Here are some factors to consider when selecting the right roof rack for your vehicle and kayak:
Type of Roof Rack
There are various types of roof racks available, including:
- Crossbar Systems: These consist of two horizontal bars that span across the width of your vehicle’s roof.
- J-Style Carriers: These racks allow you to secure your kayak on its side, maximizing space and ease of loading. Check out our guide on how to tie a Kayak on a J-Rack.
- Stacker Systems: Stacker systems let you transport multiple kayaks by stacking them vertically on their sides.
Consider factors such as ease of use, weight capacity, and compatibility with your vehicle when choosing the ideal roof rack system for your needs.
Weight Capacity
It’s essential to ensure that the roof rack you select can support the weight of your specific kayak model. Check the manufacturer’s guidelines for your vehicle’s maximum load capacity and the roof rack system.
Compatibility with Your Kayak
Different kayaks come in various shapes and sizes, so choosing a roof rack system that accommodates yours is crucial. Ensure that the width and length specifications align with those of your kayak model for optimal stability during transportation.
Preparation Before Loading
Once you have selected an appropriate roof rack system, it’s time to prepare your kayak for loading. Here are some essential steps to follow:
Clean and Inspect Your Kayak
Before every trip, cleaning any dirt or debris from your kayak is essential. This helps prevent damage and ensures a secure fit on the roof rack. Additionally, inspect your kayak for any signs of wear or damage that may affect its structural integrity.
Gather Required Equipment
Ensure you have all the necessary equipment handy before starting the loading process. This typically includes cam buckle straps, bow and stern lines, foam blocks or cradles (if needed), and a step ladder if your vehicle is tall.

Step 1: Positioning the Roof Rack
The first step in safely loading your kayak is positioning the roof rack on your vehicle. Follow these guidelines for proper installation:
Measure Placement Distance
Measure and mark the appropriate distance between the front and rear crossbars of your roof rack system based on the length of your kayak. Refer to your vehicle’s manual and the roof rack manufacturer’s instructions for specific measurements.
Attach Crossbars Securely
Attach the crossbars to your vehicle’s roof carefully, following the manufacturer’s instructions. Ensure that they are firmly secured and evenly spaced.
Step 2: Preparing Your Kayak for Loading
Before placing your kayak onto the roof rack, take these preparatory steps:
Positioning Foam Blocks or Cradles (If Needed)
If you use foam blocks or cradles to protect your kayak during transportation, position them appropriately on each crossbar according to their instructions.
Open Hatches and Remove Accessories
Open any hatches on your kayak and remove any detachable accessories, such as fishing rod holders, seats, or paddles, to prevent them from getting damaged during transport.
Step 3: Lifting Your Kayak onto the Roof Rack
Now that you’ve prepared both your vehicle and kayak, it’s time to lift your kayak onto the roof rack. Follow these steps for a safe and smooth loading process:
Enlist Assistance
Loading a kayak onto a roof rack is often easier and safer with an extra pair of hands. Ask a friend or family member to help you lift the kayak.
Positioning the Kayak
Position yourself on one side of the vehicle and have your helper stand on the other. Lift the kayak by its sides, ensuring it remains parallel to the vehicle’s roof.
Carefully Place the Kayak on the Roof Rack
Gently place your kayak onto the foam blocks, cradles, or crossbars, aligning it with the centerline of your vehicle. During this process, be cautious not to scratch or damage your kayak and vehicle.
Adjust Placement as Needed
Make any necessary adjustments to ensure your kayak is centered on the roof rack and aligned adequately with any foam blocks or cradles.
Step 4: Securing Your Kayak in Place
Once your kayak is correctly positioned on the roof rack, it’s time to firmly secure it. See our guide on the best kayak anchors in the market and follow these steps for a secure hold:
Strapping Down Your Kayak
Use cam buckle straps to secure your kayak tightly to the roof rack. Start by attaching one strap around each crossbar, ensuring they are snug but not overly tight. Next, attach two additional straps over each end of the kayak for added stability.
Bow and Stern Lines
Attach bow and stern lines from appropriate anchor points on your vehicle’s front and rear ends. These lines prevent any forward or backward movement during transportation.
Conclusion
Ensuring you load your precious kayak onto a roof rack correctly is vital for its safety during transport. By following our step-by-step guide, you’ll be equipped with all the information you need to secure your vessel properly. As always you don’t want your arms to get tired beforehand, check our guide on how to paddle a kayak like a pro. Remember to prioritize safety, double-check your equipment, and enjoy your adventures on the water, knowing that your kayak is securely fastened to your vehicle. Happy kayaking!


